Reading a map guide is a skill that many people don’t think they need to learn, but it can be very useful. Whether you’re looking for your way around town or a trail map, understanding how to read a map guide will make all of those tasks much easier. In this blog post, we’ll walk through the basics and show you everything you need in order to become an expert at reading a map guide.
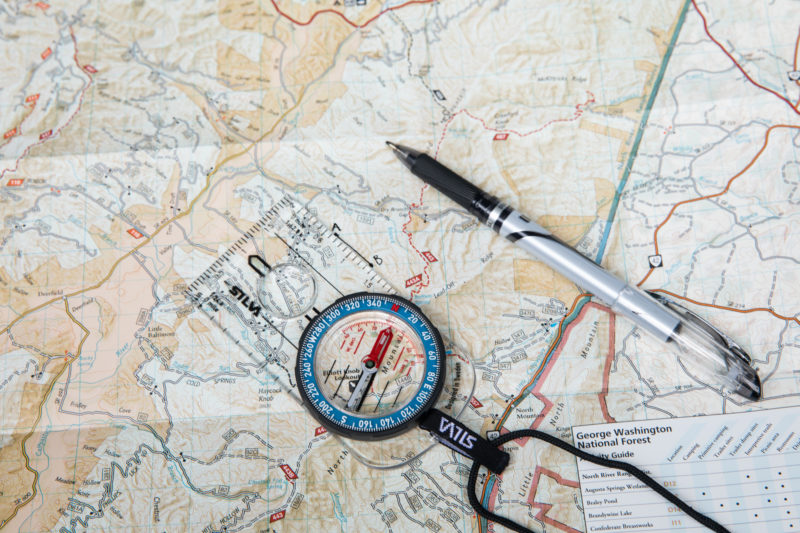
Table of Contents
What Is a Map Guide?
A map guide is an illustrated graphical representation of an area or path that you can use to help plan your journey and get around more easily when traveling. A map guide can show your location, where all of the roads are located, what landmarks are nearby, etc.
Choose The Type Of Map Guide You Need
There are several different types of map guides, each with its own purpose. The type you need will depend on where you’re going and what your plans are.
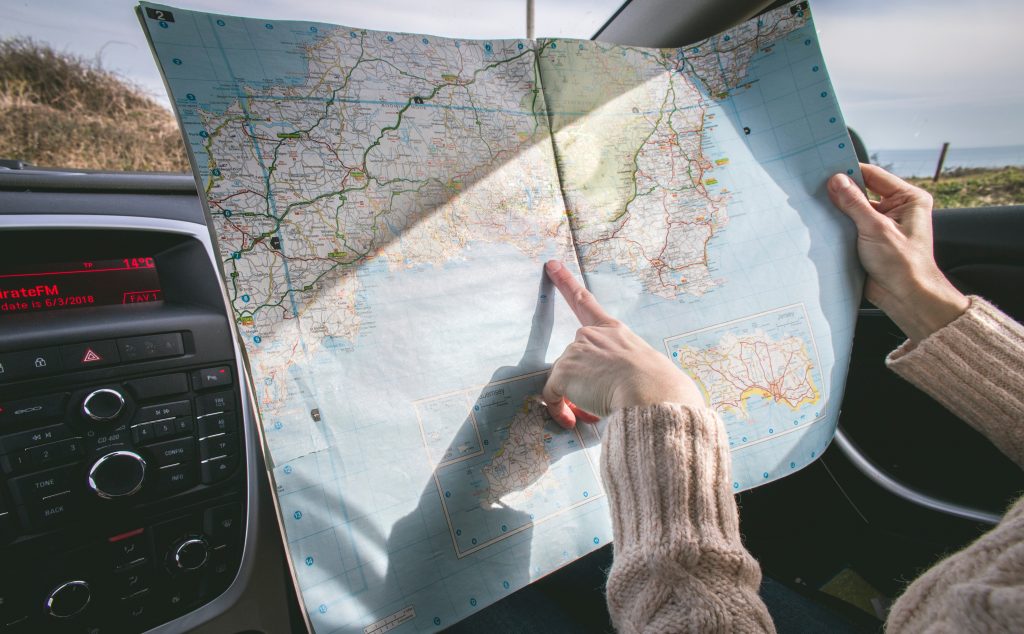
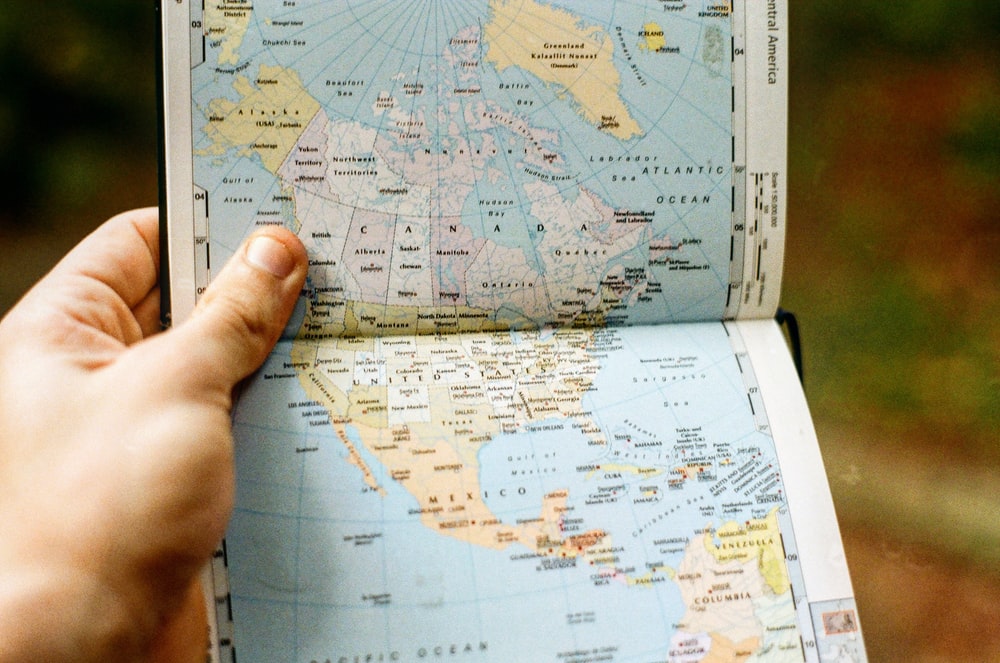
Road Maps – These maps highlight the roads in a certain area, including highways, main streets, and side streets. They also show any other landmarks that may be helpful in finding your way around using the roads.
Road maps are good for getting to a new city or when you’re planning out your route before setting off on any trips by car. They can also be helpful if you need to find an alternate route in case of traffic, accidents, etc.
Topographic Maps – These maps highlight all of the natural features of the land such as hills, valleys, and rivers. On these types of maps, man-made structures like roads and buildings will be shown in a lighter shade than where they’re located on top of the landscape. However, if something is very tall or steep (like a building), it will stand out more prominently against all other structures.
Topographic maps are great for taking on hikes or when you’re planning out your route while driving. They show the physical landscape in an accurate way, which is especially helpful if you want to plan where to go based on what type of activities will be available (e.g., biking trails, climbing spots).
Trail Maps – Trail maps are basically road maps that show the trails available for hiking. They will highlight all of the paths and roads, even those not accessible by car. This can be very helpful if you’re looking to avoid busy streets or want more variety in your hike/walk rather than just following the main highway through town.
Trail maps are perfect for when you’re out on a hike or walking around your local area. They show the trails that are available and how to get from one place to another, which can make it easier for hikers of all skill levels.

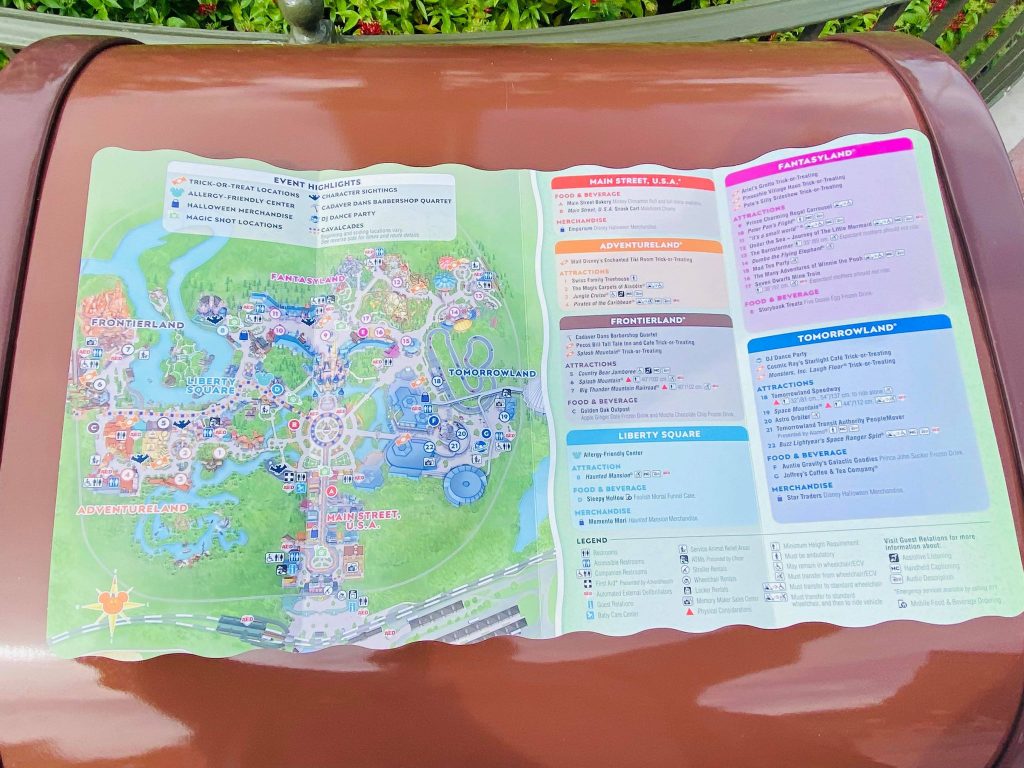
Tourist Map – Tourist maps are designed to help you find your way around a certain city or town. They highlight popular attractions, restaurants, shops, etc.
Tourist maps are very helpful when traveling somewhere new and unfamiliar because they can give you an idea of what’s available in the area where you want to go. If there happens to be something that you’re interested in doing, you’ll be able to see where it is located and how long a walk/drive it will take from your current location.
Other Types – There are other types of map guides as well such as highway maps (which may include road and topographic features), subway maps, city or state park guides (which can include road and topographic features as well as hiking trails if applicable).
The type of map guide you need will depend on where you’re going and what your plans are. If it’s a new area for you, then a road map is probably the best option to start with.
Choose The Right Scale For Your Map Guide
Another important factor to consider when choosing a map guide is the scale. It’s important for your map guide to be highly detailed and clearly show what you need it to be, but not so big that you can’t carry or read it easily while on the go. Here are some of the most common scales available:
Large Scale – These maps are designed to show a wide area and will include all of the main streets, highways, and other roads in that region. However, they won’t be as detailed as medium or small-scale road maps because there’s so much ground to cover.
Large-scale roadmaps can come in really handy if you want an overview of a large area or if you’re traveling through a new region. They show all of the major roads and landmarks, but they don’t give as much detail about specific streets and locations compared to other map guides.
Medium Scale – Medium-scale roadmaps are meant to provide more details than larger ones, which allows for quick location recognition on your part. This scale is perfect for those who are familiar with an area or want more detail than what a large-scale map would have.
Medium roadmaps are great if you’re someone who knows their way around the city well and just wants to see how everything looks on paper before heading out, but they could also be helpful for anyone planning to travel to a new place because they show more details about the roads and locations than large-scale maps.
Small Scale – Small scale roadmaps are perfect for those who want to see very specific details of their route or know where everything is located in order to get around efficiently. They typically have less coverage area but will be much more detailed showing things like specific streets, intersections, and even smaller side roads.
Small-scale roadmaps are ideal for those who want to see a lot of detail about their route or plan on going through a new area that they don’t know very well. They show all of the little details like street names/numbers and can help pinpoint certain locations more easily.
Note: The above map scales are just a general rule of thumb and not all roadmaps will follow them.

Scale Divisions
Scale divisions show what each one centimeter, half a centimeter, or quarter centimeters on your map equals in real life. This will be helpful when it comes to knowing how long a certain route is going to take you and/or if that’s feasible enough for what you’re trying to do
- 1:50,000: Every centimeter on the map equals 50,000(500Meters) Centimeters in real life.
- 1:25,000: Every centimeter on the map equals 25,000(250 meters) Centimeters in real life.
Understand The Features Of The Map Guide
Before you actually start to use the map guide, it’s important that you know exactly what all of its features mean and how they work. This can help you get the most out of your map in terms of navigating and planning.
Legend – The legend is the key to your map guide and tells you what all of the symbols, colors, lines, names, etc. are used for throughout the document. This will be very helpful when it comes time to figure out where exactly you are on a map so that you can get back on track if needed.
Map Scale – As previously mentioned, the map scale will tell you how big or small a certain area of your map is. For example, if it’s a large-scale roadmap then every one centimeter on that sheet equals 500Meters in real life. This can be very helpful when trying to decipher how long it takes to get from point A to B and whether or not it’s a feasible route for you to take.
Title – The title is typically located at the top of your map and will tell you what area or location it covers as well as its scale, projection type, etc. This can be useful if you’re trying to figure out which road guide would be best for your specific needs.
Latitude – Latitude lines, also known as meridians, are the horizontal lines that run from top to bottom on your map. They are used to show how far north or south you actually are in order to give context for latitude scale numbers below them.
Longitude – Longitudinal lines (also called parallels) run across a map horizontally and are used to show how far east or west you are in the world. They will have numbers next to them that correspond with a specific latitude scale that is further down on your map sheet.
Grid System – The grid system of a map has squares/grids that all line up together and can be broken down into smaller segments for more detail if needed. They are typically identified by letters across the top and numbers along the side in order to determine what grid you’re on at all times.
The North Arrow – is the arrow that points north and can be very helpful when you’re trying to figure out which direction you’re facing. If it’s pointing up towards the top of your map then you know without a doubt that North is directly in front of you whereas if it’s pointing down on the bottom left side, South would be straight ahead.
Distances – Distances are typically located at the top and/or bottom of a map sheet in order to give you an idea of how far from a place to place you really need to travel. They will have numbers next to them that indicate kilometers or miles so that you can plan accordingly for your specific needs.
Reading Contour Lines: Contour lines indicate the topography of the land and often look like wavy/curvy lines on your map. They will either be close together or further apart depending on what type of terrain you’re currently traveling through so that you can adjust accordingly to get where you need to go.

How to Read a Map
- Point Your Map North: Your map will always be oriented with north on top of it and south at the bottom. This is to make sure that you know which direction you’re facing when using your guide so that you can plan accordingly.
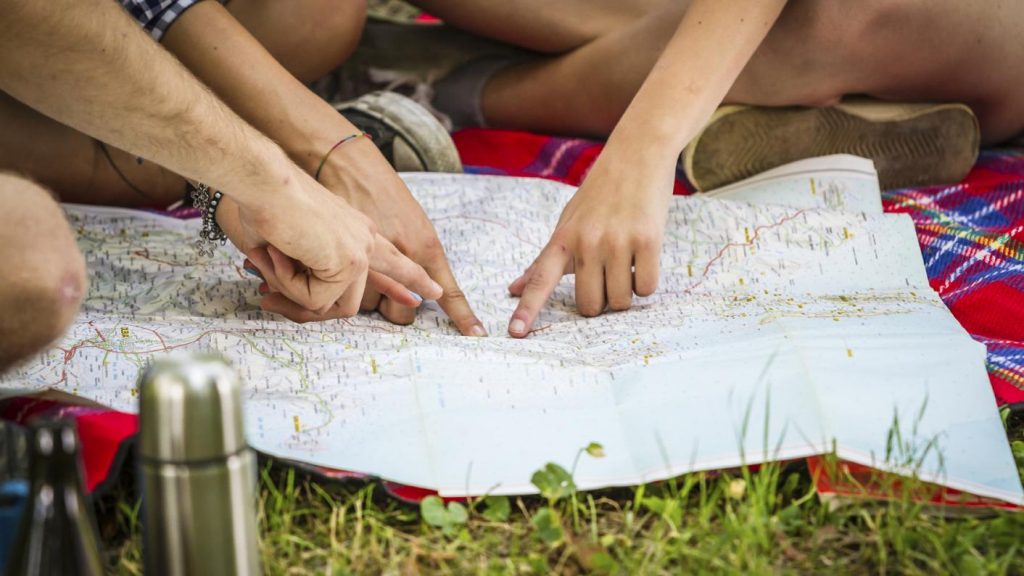
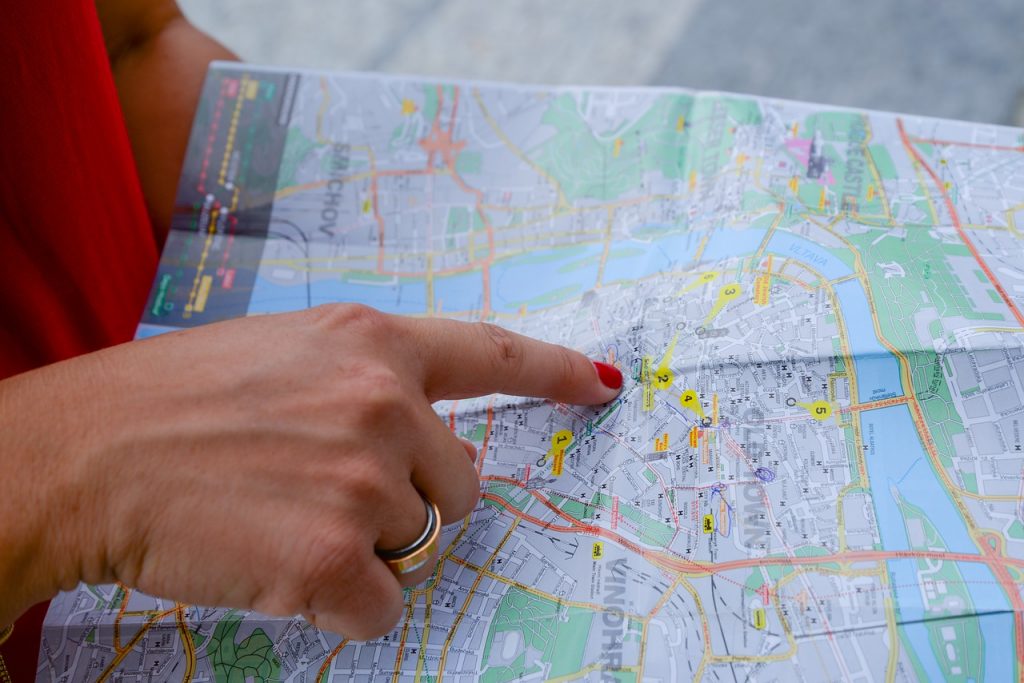
- Find Your Location On The Map: Before you can start to plan your route and read the map guide, you need to figure out exactly where on it that you currently are. You can do this by using a compass or just looking for familiar landmarks if the area is more rural.
- Reading Contour Lines: Contour lines indicate the topography of the land and often look like wavy/curvy lines on your map. They will either be close together or further apart depending on what type of terrain you’re currently traveling through so that you can adjust accordingly to get where you need to go. Each contour line on a 1:50,000 scale map represents a rise of 10 meters above sea level so if you are traveling through a flattish area, the lines will be much closer together. The closer they are to one another, the more extreme the landscape is. If there’s no contour line at all then it means that it’s a flat area.
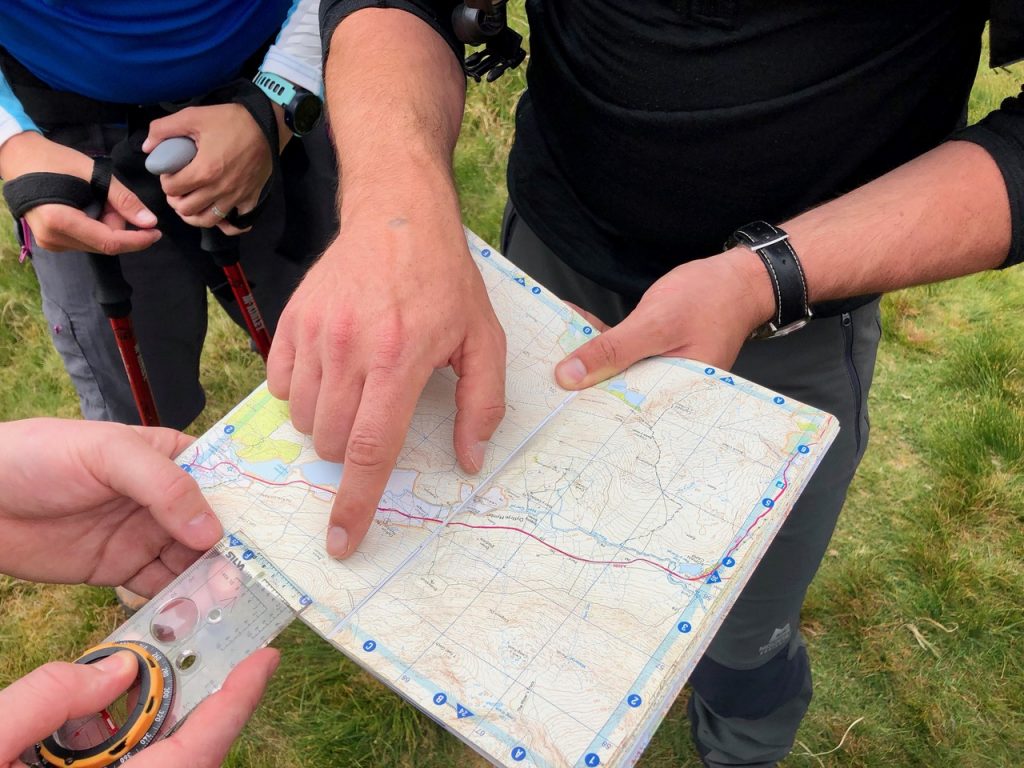
- Point Your Destination: By now you should have found your exact location on the map and know which direction you need to go in order to reach your destination. You can make sure that your route is planned out properly by using the distance measurements along the bottom or top of a map sheet as well as any landmarks nearby if needed.
- Finding a route: By using a combination of the measurements along with your map guide and any landmarks nearby, you should be able to find the best route in order to reach your destination. You can also use grid lines or angles on a compass if needed for more accuracy when plotting out where it is exactly that you need to go.
- Create checkpoints: In order to make sure that you’re going in the right direction and getting closer, create checkpoints along your route. This will be useful especially if there is nothing nearby for landmarks or if you get tired and need a break before continuing on with the journey. It’s also helpful because it gives you an opportunity to check your map guide frequently so that you can make sure that you’re still going in the right direction and not veering off too far to either side.
Features Of The Landscape
Once you know where you are on your map guide, it’s time to figure out what features of the landscape you can see around you. This will help you to plan your route and get an idea of what road guide is best for the specific journey that you’re trying to make.
- Spur Lines: A spur is a feature that slopes downwards in the direction of travel. The contour lines will point away from the summit of the mountain/hill, indicating a spur.
- Re-Entrant: A reentrant appears on the map as a U or V shape in the contour lines, pointing back into a hillside rather than away from it.
- Saddle: A saddle is a feature that appears as a dip in the contour lines, between two peaks of hills or mountains and suggests flat ground between them.
- Side Trails: Side trails are like spur lines, but instead of pointing down the hill they point away from it and can be used to indicate a road or trail which leads off in another direction along its own course. They will often make their way back up onto the main path at some point.
- Ridge: A ridge or a mountain ridge is a geographical feature consisting of a chain of mountains or hills that form a continuous elevated crest for some distance. On maps, ridges are often designated with a small line symbol the map indicating where they begin and end.
- Re-Entrant: A reentrant is a feature that slopes up away from the direction of travel, it appears as an upside-down U or V shape in contour lines.
- Summit: The highest point on a hill or mountain is referred to as the summit and will have its own unique name which you can use to help navigate to that specific destination.
Uphill vs. Downhill
If you’ll be traveling uphill along your route, it will take longer than if you were taking a downhill journey but both are important to know about when planning out how long each path is expected to take. This will help you decide if it’s better for you to go uphill or downhill depending on how much time that you have and which one is best suited for your specific journey.
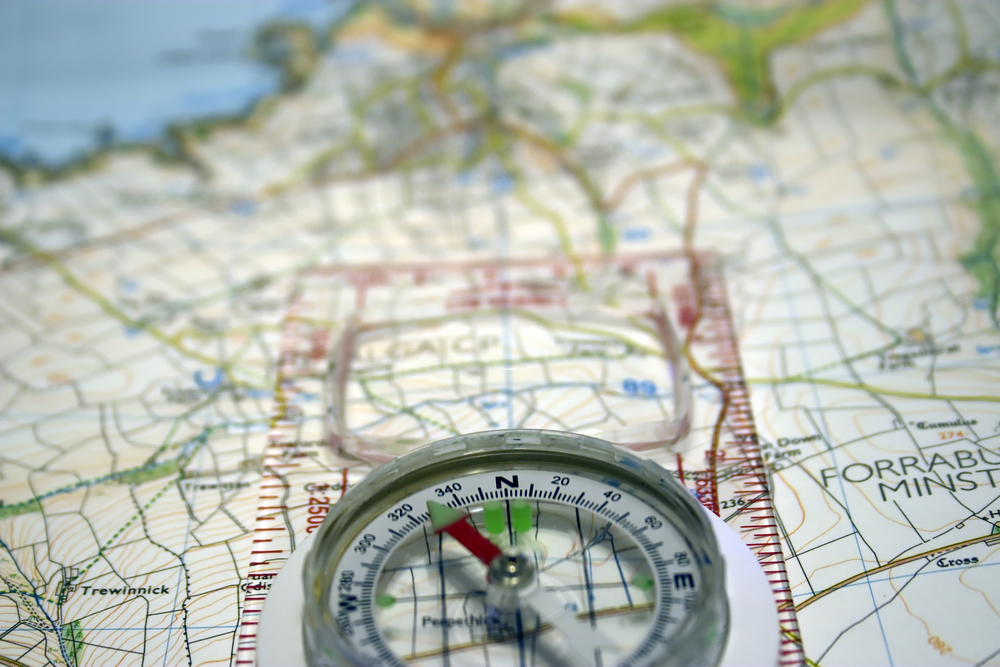
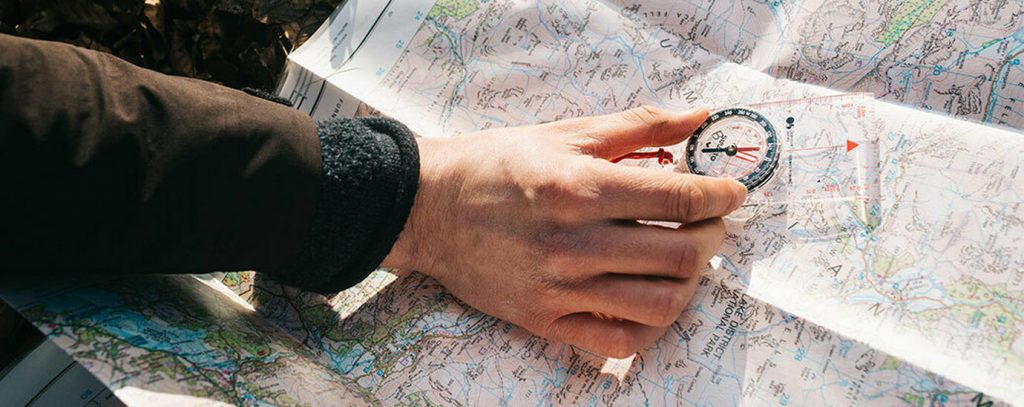
How to Use a Compass On the Map Guide
A compass will help you navigate in the direction that you need to go by showing which way is north, south, east, or west. You can use this tool combined with your map guide and landmarks around you to make sure that you’re traveling in the right direction each time. It’s important especially when there are no visible landmarks near your current location because, without them, you cannot know which way is north and would be forced to use other methods such as the sun or stars.
The first thing that you will need to do when using a compass with your map guide finds out what type of coordinate system it uses so that you can match up the directions correctly. There are several different kinds of coordinate systems that you can use but the most common ones are UTM and Latitude/Longitude.
- Latitude: Latitudes lines run east to west around a map guide, parallel to the equator on globes of Earth’s surface. Lines of latitude indicate distance from the Equator, with each line representing a fixed value of distance.
- Longitude: Longitudes lines run north to south around a map guide, parallel to the Prime Meridian on globes of Earth’s surface. Lines of longitude indicate how far it is from the Prime Meridian and represent degrees measured in multiples of 15° starting at 0° (which runs through Greenwich).
- UTM Coordinates: UTM coordinates are used to reference specific points on a map guide. They consist of both numbers and letters which correspond with the digits in each degree of latitude and longitude, allowing you to track your exact location at all times.

Once you’ve determined what type of coordinate system that the compass uses it’s time to start using this tool to navigate your way through the map guide. The first thing that you should do is take note of where north or south is on your compass and make sure that they match up with their correct directions in relation to what’s around you, this will prevent any confusion when trying to find out which direction needs to be tracked next.
To use a compass with your map guide you will need to start by finding out where North is on the map. This can be done by using one of two methods depending on what type of compass that you have, if it’s a regular magnetic compass then all that needs to be done is find Polaris which sits right above true north and this should point in the direction of north on your map guide. If it’s a digital compass, then you can find north by setting the dial to point towards Polaris and following that direction until there is no more needle movement which means that you’ve reached true North.
FAQ
Q.Where do you find north on a map?
A.When using an analog or digital compass to navigate with your map guide, the direction in which you are traveling will be displayed by either where the needle is pointing when it stops moving or how far around the dial that pointer has moved. If you’re using a magnetic compass then this should point towards Polaris which is the star that sits right above true north on Earth’s surface.
Q.How do you use a compass?
A.To begin using your compass, first make sure that you’ve set the dial to point towards Polaris. Once this has been done all you will need to do is follow where it’s pointing until there is no more motion in the needle which means that you are traveling North on your map guide.
Q.What does true north mean?
A.True north is the direction that points directly towards Earth’s geographic North Pole. This can only be found by using a compass with your map guide and not all compasses point to this exact location so make sure you take note of which way it’s pointing before moving forward if you want to avoid getting lost in an unknown area.
Q. What does a map guide do?
A. A map guide helps users to plan their journey ahead by showing them which roads they need to take and where certain places that they want to go is located on the global or local area map.
Q. Where can I find a map guide?
A. Map guides are usually found in libraries, stores, and online for purchase or download to use with your smartphone or tablet device where you plan out paths on the go.
Q. Why should you use a map guide?
A. A map guide is very useful to have with you while traveling, especially if there are no visible landmarks because it’s the only way to know where north or south is located on your journey.
Q. What is a map guide made of?
A. A map guide can be made from several different materials including paper, cloth, or plastic and they all have various uses for them that range in the global area to just within your own home depending on what you’re looking for its purpose to be.
Q. What are the different types of map guides?
A. There is a variety of different types of maps that can be used as a guide such as topographical, geological, or thematic- these all differ depending on what kind of information you’re looking for and where you use it to help with your travel plans.
Q. What is the UTM coordinates system?
A.The Universal Transverse Mercator (UTM) coordinates system is a grid-based method of referencing specific points on a map guide.
Q. How do you read UTM coordinates?
A. In the case of using a map with this coordinate system, all that needs to be done is to take note of the digits in each degree starting from 0° and going in either direction of east or west using multiples of meters.
Q. What is the Prime Meridian?
A. The Prime Meridian is an imaginary line that runs from north to south and goes through zero degrees longitude which begins at Greenwich, England- this point serves as a major reference when reading map guides because it makes it easy to determine the difference between degrees of latitude and longitude.
Q. What does a map guide consist of?
A. A map guide consists of several different components, including the north or south direction that helps users to find out which way they need to go next with their journey by referencing either true north or Polaris for magnetic compasses, and they should always be used in conjunction with other map components such as the grid lines, latitude, and longitude.
Q. How do you make a map guide?
A. Making your own basic map is easy to do with simple materials such as graph paper and a ruler- by using the points of latitude and longitude, users can draw straight lines across their shape until all that’s left are individual sections which will then help determine section shapes for individual areas.