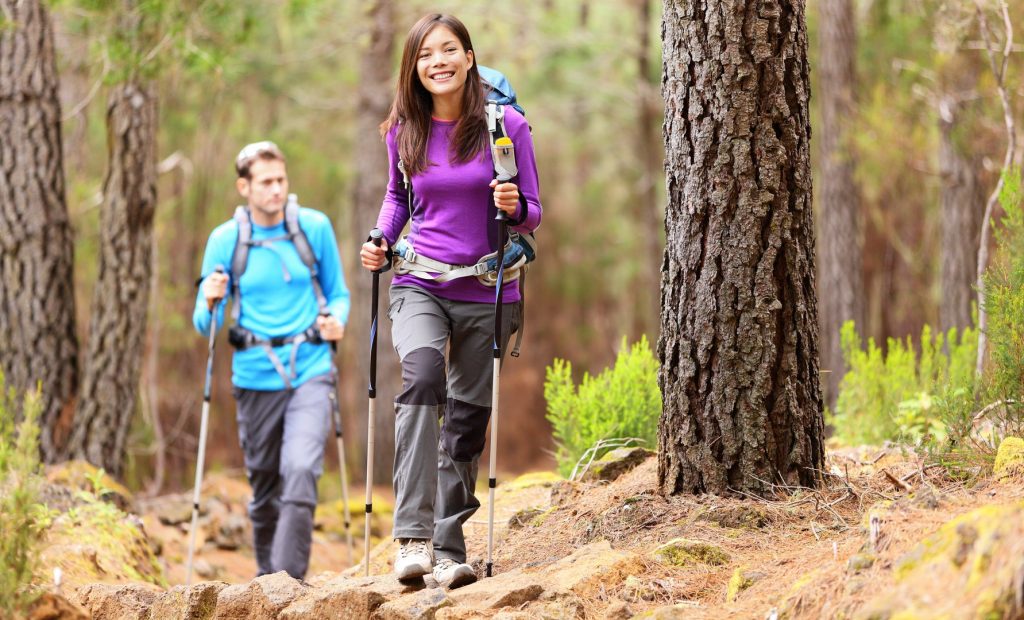
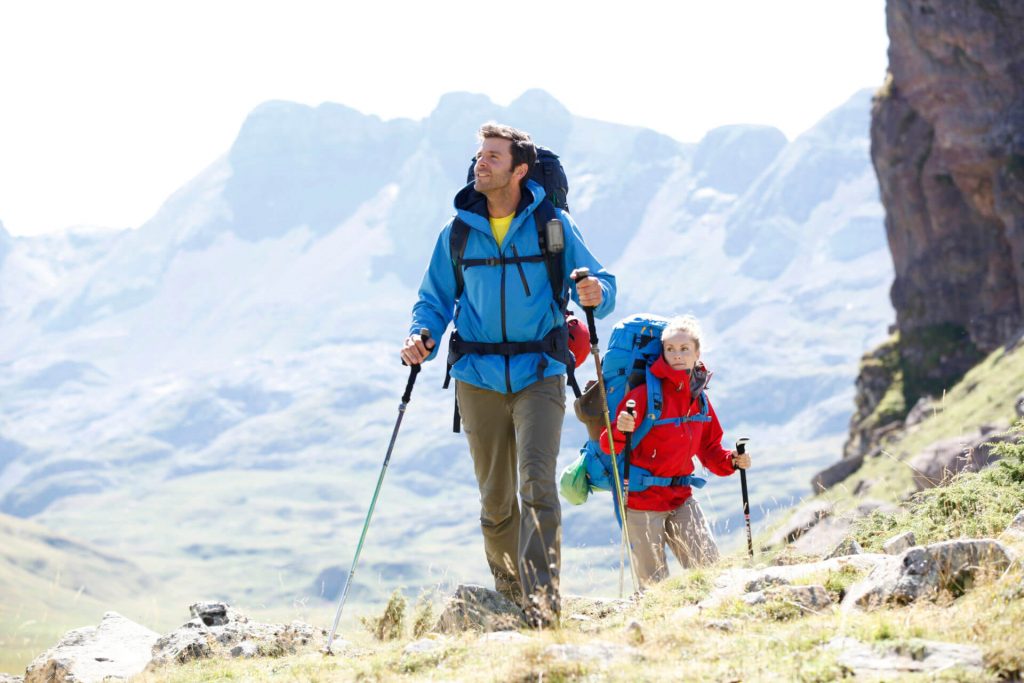
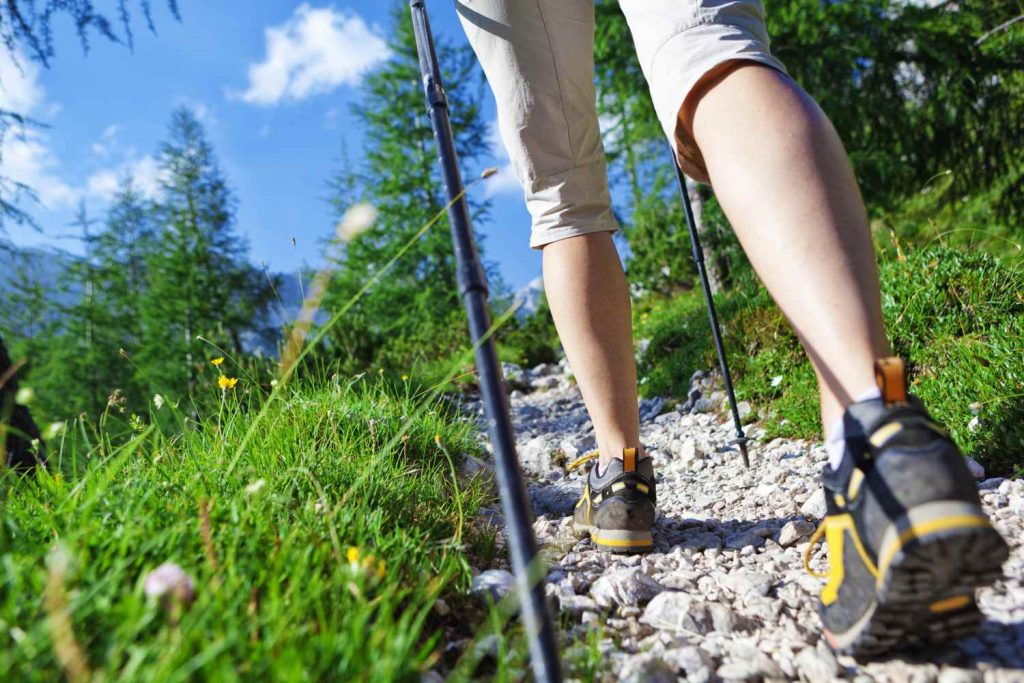
Trekking poles are an absolute must for any hiker, backpacker, or climber. They provide stability and support when hiking long distances and steep terrain. Trekking poles also help to take the stress off of your knees and back on those all-day treks. If you’re looking for a new set of trekking poles, then this is the article for you. We will cover how to choose the right pair of trekking poles as well as how to properly use them in detail below.
Table of Contents
What are Trekking Poles?
Trekking (or walking) poles are collapsible one or two-piece staffs that can provide support and stability to hikers, climbers, backpackers, hunters, fisherman – anyone who spends time outdoors engaging in strenuous activity. They’re typically made of lightweight aluminum with shock absorbers located at the top for reduced impact on your joints.
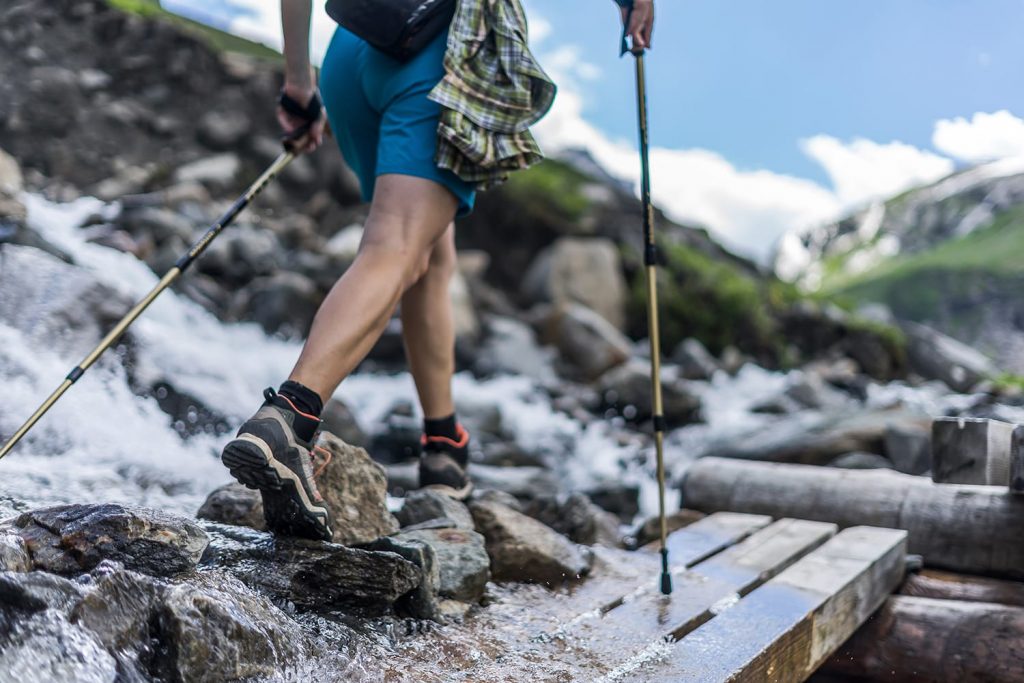
Trekking poles can also be used to help prevent injuries by providing stability on slippery or uneven surfaces, and they help take the pressure off your knees when ascending steep hills. They’re extremely versatile pieces of equipment that can really make a difference in your experience out in the wilderness.
Understand your Needs
Trekking poles come in a wide range of prices and materials. You can spend as little as $20 or upwards of $200 on a pair, so it’s important to know what you want before buying them. Here are some questions to ask yourself when choosing trekking poles:
- What kind of terrain will I be using these for? Will, they mainly stay on trails, or will I be using them to scale mountains?
- How long do I want the trekking poles to extend? If you’re planning on scaling mountains regularly, then it’s important that your poles are at least 125 cm in length. With shorter models, it can be difficult to get enough leverage for steep ascents.
- How much weight do I want the poles to support? Trekking poles can range anywhere from 250 grams up to 500 grams. Some models even come with cork grips and other features that add to the weight.
- Do I want anti-shock or fixed shock absorbers? Anti-shock models are typically more compact and lighter, but they don’t provide as much support on uneven terrain. Fixed shock absorbers are great for preventing falls and injuries when
- How important is the price? If you’re only planning on using your trekking poles occasionally, then cheaper options are available at most sporting goods stores like REI or Cabela’s. If you think you’ll be using trekking poles regularly, then spring for a good pair with shock absorbers and ergonomic grips from manufacturers like Black Diamond or Leki
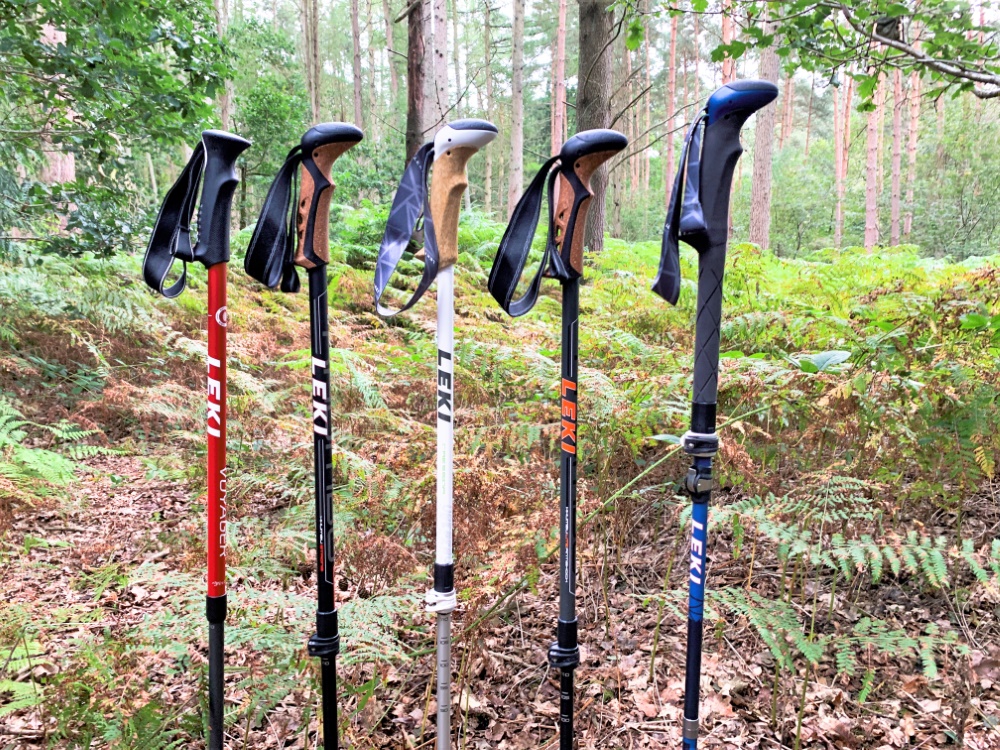
Types of Trekking Poles
There are a few different types of trekking poles available on the market. Which one is right for you depends largely upon your needs. Here are some of the most common types of trekking poles available:
- One-Piece Poles: These models have a single shaft that extends from 25 cm to 125 cm. Because of their small size, they’re better for hiking on flat terrain and in areas where you don’t need to scale large hills.
- Two-Piece Poles: These are the most popular type of trekking poles available on the market because they offer a good mix of stability and weight. Because of their ability to adjust, they’re better suited for climbing and other situations where you need the extra support.
- Three Piece Poles: Three-piece poles are the most versatile type available. They consist of three segments that can be adjusted to suit your height and needs. Plus, they’re typically much lighter than two-piece poles while still providing a stable platform for trekking.
- Collapsible: These models are great if you’re looking for an all-purpose trekking pole that can be easily stored when not in use.
- Fixed Length: If you’re looking for a pair of poles that can support more weight, then fixed-length models are best. They usually range from 125 cm to 135 cm in length and are best suited for hikers or climbers.
How to Choose Trekking Poles
Once you’ve determined a budget and the type of poles that suit your needs, it’s time to start looking at specific needs such as:
- Style – You can choose from the fixed length, adjustable and collapsible poles. Plus, there are a variety of pole tips to match your terrain needs such as carbide for hard surfaces or rubber tips for soft ground
- Grip – You can choose between cork or rubberized grips. Plus, some poles come with padded wrist straps to protect your hands
- Shaft Material – The pole shaft is typically made from one of three materials: aluminum alloy, carbon fiber, and composite fiberglass
- Weight Capacity – Generally speaking, lighter models are best for shorter distances while heavier poles are more suitable for longer treks
- Length – The ideal length will vary based on the person’s height and stride, but it should be approximately one-half of your total height. Plus, you can adjust to pole lengths as needed during a hike
- Shaft Diameter – Typically, the thicker shafts provide more strength and stability while thinner poles are lighter and easier to pack
- Adjustable Features – Poles with adjustable features such as cuffs, straps, and grips will give you the most versatility. Plus, it’s helpful to choose a model that provides comfortable hand positions for your hands and wrists
- Lock Type – You can choose between twist lock and flick-lock mechanisms for your poles.
- Cost – Generally speaking, you’ll spend more on heavier models that are made of aluminum or composite materials
Trekking Pole Features
There is a wide range of features available on trekking poles today. Here are some guidelines for choosing the right features:
- Adjustable: These types of poles are best for general use. Plus, adjustable length models can be useful if you’re going to share your trekking poles with other people because they let you quickly change the height without having to stop and take your pack off every time
- Shock Absorbers: These features reduce stress on joints when ascending or descending hills/stairs. Plus, they absorb impact on flat ground or when holding the poles at your side
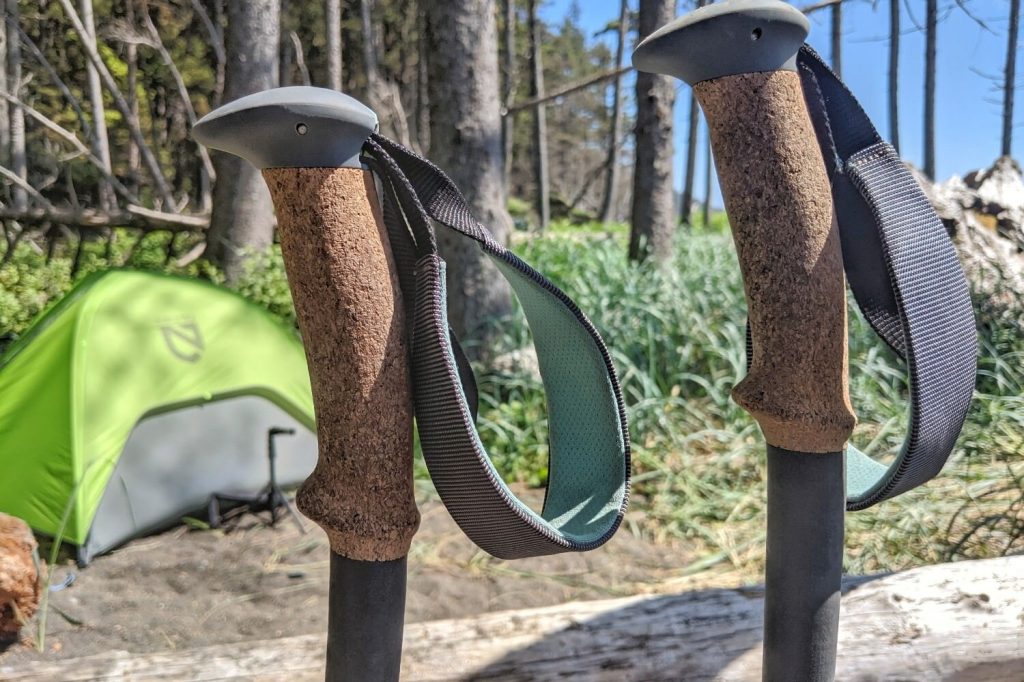
- Cork Grips: These are the most common type of grips available on poles. They’re more comfortable than rubber grips and provide a better grip when your hands are sweaty or wet
- Rubber Grip Pads: Rubber pads aren’t as durable as cork, but they do absorb sweat well. Plus, many people find them to be more comfortable than cork grips.
- Z-Pole: These poles collapse to a very short length while still providing stability and support when needed. Plus, they’re typically lighter weight while still being strong enough for climbing or steep ascents
- Padded Grips: Padded grips reduce shaking/vibrations when descending and provide a better grip on cold days. Plus, they make it easier to hold the poles for long periods of time
- Standard pole lengths: Standard poles are 125 cm-135cm in length. Plus, they’re best for hikers or climbers
- Foldable: These poles fold down to a very short length. Plus, they’re typically lighter weight than other models while still being strong enough for climbing or steep ascents
- Ultralight: Ultralight poles are typically the lightest weight models available. Plus, they collapse to a very short length for easy storage and transport while still providing stability and support when you need it
- Strap: Straps help reduce wrist fatigue and provide a better grip on cold days. Plus, they make it easier to hold the poles for long periods of time
- Disc-style: These pole tips are designed specifically for use in snow or other soft terrains where you need extra traction.
Trekking Pole Tips
When choosing trekking pole tips, there are three main types to consider:
- Snow/Sand Baskets: These baskets are large and bulky, but they provide extra stability in loose snow or sand. Plus, they prevent the poles from sinking too far into soft ground
- Rubber Tips: Rubber tips are best for general use because they can be used on pavement/hard surfaces without scratching them up. Additionally, rubber tips don’t slip when wet like other types of models
- Traction Baskets: These baskets are designed to reduce slipping on ice or hard-pack snow. Plus, they grip the ground for extra stability when holding poles at your side on steep grades or on downhills

Trekking Pole Handles
When choosing trekking pole handles, there are three main types to consider:
- Flared/Ergonomic: These grips allow you to hold the poles in a variety of positions and grip angles. Plus, they provide support when moving downhill or gaining elevation quickly while holding the poles at your side
- Straight: These grips are best for hikers or climbers because they allow you to hold the poles in a variety of positions and grip angles. Plus, they provide support when moving downhill quickly while holding the poles at your side
- Mixed/Combined: Mixed handles offer an ergonomic shape on one end with a straight grip on the other. Plus, they provide support when moving downhill or gaining elevation quickly while holding the poles at your side
Trekking Pole Locking Mechanisms
When choosing a locking mechanism, there are a few main types to consider:
- Flicklock: This is the most common type of lock available and it’s easy to adjust quickly. Plus, they’re typically lightweight and durable
- Twist Lock: These locks sometimes require more pressure than flick locks to unlock or lock them into place. However, twist locks often remain locked when you need them to and they’re typically lightweight
- Push Button: These locks work like twist-lock mechanisms, but the release button is on top of the pole. Plus, this type of mechanism allows for quick adjustments without having to touch your poles
- External lever lock: This is the most durable type of lock available. Plus, it usually requires less maintenance than other models
- Internal lever lock: This kind of locking mechanism prevents the pole from coming apart at the handle when descending steep grades. Plus, they’re typically lightweight and durable
- External cam lock: These locks are simple to adjust even in low light conditions or when wearing gloves. Plus, they’re typically lightweight and durable
- External draw-twist lock: This kind of locking mechanism is easy to adjust even in low light conditions or when wearing gloves. Plus, it’s simple for anyone with experience using trekking poles
- Internal screw lock: These locks are the most versatile because you can use them on any pole regardless of brand or model. Plus, they’re typically lightweight and durable
Choosing the Right Grips and Straps
Once you’ve decided on a pair of adjustable or fixed-length trekking poles, you’ll need to choose your grips and straps before heading out into the field. To ensure you have the best fit, follow these tips:
- Grips – Select between cork or foam grips. Cork is ideal for extended periods of hiking when your hands are likely to sweat due to high temperatures and humidity levels in the air. Plus, it’s naturally slip-resistant so there’s less risk of them coming loose during your hike
- Straps – Select between single-component or split straps. A single-component strap generally offers more stability than a split strap, but it’s one continuous piece that can be awkward to adjust when in use. Plus, it may not fit properly on smaller hands if you have slender fingers and need the extra support of an adjustable grip
- Another option is to use a split strap that comprises two separate straps. This design helps with stability and support when using trekking poles
- A final consideration regarding grip styles involves whether or not you’ll be hiking in wet conditions such as rain, ice, snow, sleet, mud puddles, and dew
- If you’re hiking in these conditions, choose cork or foam grips that are waterproof to prevent water damage and maintain stability on slippery surfaces. Plus, opt for split straps over single-component options because they offer more flexibility
Trekking Pole Grips
When choosing trekking pole grips, there are three main types to consider:
- Foam/Rubberized Grip: These grips provide a comfortable grip in all weather conditions. Plus, they’re easy on your hands even if you have sweaty palms
- Airmesh Grip: This type of grip is breathable and they typically have a comfortable texture that’s easy on your hands even if you have sweaty palms
- Airmesh/Rubberized Grip: This is a combination of foam grip and air mesh grips. Plus, it provides cushioning with breathability

Trekking Pole Length
One of the most important considerations when buying trekking poles is how long they should be. Here are some guidelines for choosing a proper length:
- When standing upright, the top of your hand should be in line with your shoulder.
- When holding the poles at your side with hands near the top, they should reach to just below your hip or mid-thigh.
- If you’re going to be using your trekking poles for climbing or steep ascents, then you should have a minimum of 125 cm in length.
- If you plan on using trekking poles to support yourself on flat terrain, then you can choose poles that are as short as 25 cm.
Adjusting Pole Length
When it comes to adjusting the length of your trekking poles, you have three main options. Here are some guidelines for choosing a proper adjustment:
- For general hiking on flat terrain, adjustable poles are best. They let you quickly adjust the length without having to stop and take your pack off every time.
- For climbing or steep ascents, fixed-length trekking poles with cork grips are best because they provide more stability than other types of models
- For general hiking on flat terrain or climbing, shock absorbers are best because they let you move faster and with more control.
- For rough terrain where you might need to support your weight with the poles, fixed-length or shock absorber models are best.

Trekking Pole Accessories
There are a variety of accessories available that can be used to customize your trekking poles for comfort and convenience:
- Lanyards: You can use these cords to attach items, such as your camera or GPS unit to the wrist straps on your trekking poles. Plus, they allow you to carry a flashlight for added visibility
- Strap Covers: You can use these covers over the wrist straps on your poles to prevent chafing and blisters even when wearing gloves. Plus, they’re available in a variety of colors and styles
- Gloves: You can use these gloves to protect your hands from blisters and chafing. Plus, they provide a better grip on the poles
Trekking Pole Maintenance
It’s important to check the tightness of every locking mechanism before each use. Plus, it’s helpful to store your trekking poles in a case or some other type of protective carrier when not using them for extended periods of time.
Additionally, you should check the pole tips for wear and replace them as needed. Plus, it’s highly recommended to keep your poles out of extremely wet conditions since they can rust or corrode over time. Furthermore, it’s helpful to clean dirt from the grips with a soft bristle brush before storing them away between uses. Finally, treat your poles with a water-resistant coating to prevent rust and corrosion when exposed to the elements
Trekking Pole Shaft Materials
The pole shafts are typically made from one of three materials:
- Aluminum Shafts: These poles usually have a weight capacity between 25-60 lbs. Plus, they’re lightweight and durable
- Composite Fiberglass Shafts: They provide additional strength to compensate for their lightweight, making them ideal for heavy loads. Plus, they’re durable and corrosion-resistant
- Carbon Fiber Shafts: These poles provide a combination of lightweight durability. Plus, carbon fiber shafts are typically more expensive than other types of aluminum or composite pole shaft materials
Men’s, Women’s, Kids’ and Unisex Trekking Poles
- Men’s Poles: These typically have a cork or rubberized grip, aluminum shaft and come in one size. Plus, they’re designed for people with larger hands
- Women’s Poles: These usually feature foam grips rather than cork or rubberized grips. Plus, they have smaller cuffs and come in sizes ranging from XS to XL
- Kids’ Poles: These typically feature foam or rubberized grips as well as aluminum shafts that are sized for children ages five to 12 years old
- Unisex Trekking Poles: They provide a combination of adjustable components, such as cuffs, grips, and shafts. Plus, they’re designed to be compatible with the needs of different hand sizes

Anti-Shock or Fixed Shock Absorbers?
Another important consideration is whether you want anti-shock or fixed shock absorbers.
In general, fixed shock absorbers are better for uphill hiking while anti-shock ones work best when going downhill
Fixed shock absorbers can be adjusted along the length of a pole to match your height. Plus, they absorb more impact on steeper trails or uneven ground fields
Anti-Shock Poles: These usually have rubberized tips and foam or cork grips to absorb shock and prevent slippage. Plus, they’re typically lighter in weight
Fixed Shock Absorbers: These have metal tips and rubberized or cork grips to absorb impact on steeper trails. Plus, the grip is customizable for a better fit when going downhill
Trekking Pole Components
- Grips: These are the most common part of a trekking pole to break down or wear out. Plus, you can replace them with different types depending on your preferences for cork or foam grips
- Shafts: The shaft is typically made from aluminum, carbon fiber, composite fiberglass materials, or a combination of these. Plus, they come in different lengths to accommodate the needs of hikers with varying heights
- Cuffs: These are designed to protect your forearm from blisters and chafing when carrying heavier loads over longer distances
- Baskets: A variety of sizes are available for different types of terrain or snow conditions
Cleaning and Storage
You should clean your poles with a soft brush or damp cloth after each use. Plus, it’s important to store them in a protective case when not using them for extended periods of time to prevent damage from the elements
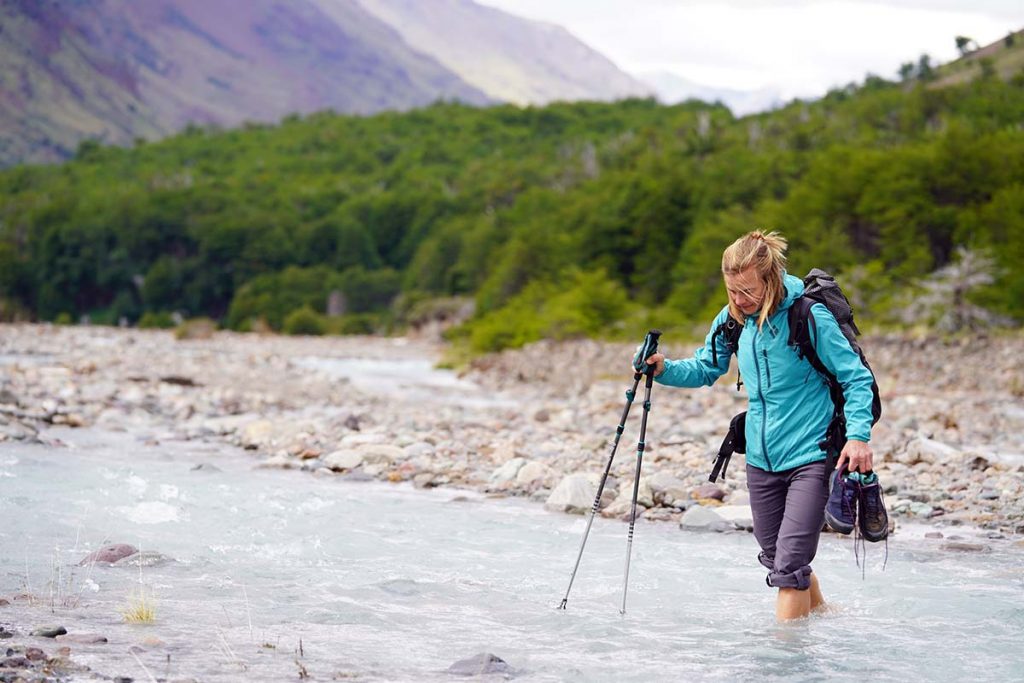
Trekking poles have been used for hundreds of years by people all over the world. Today, they provide a wide range of benefits to hikers and other backcountry travelers on everything from day hikes to long-distance treks across mountain ranges or around the globe
They can help you maintain your balance when crossing
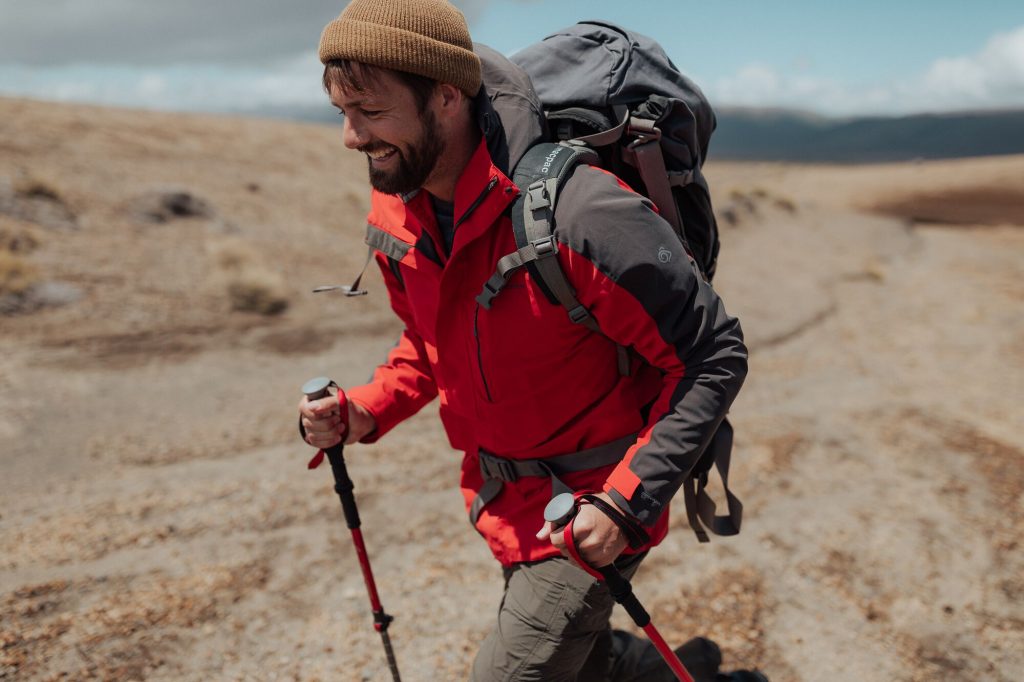
Steps for Using Trekking Poles
Now that you’ve got a pair of trekking poles, it’s time to learn how to use them properly so they offer the best support during your hike. Here are some basic steps for using trekking poles:
Step One – Instinctively Place Your Poles
When you begin your hike, place one trekking pole in front of the other. Then extend them to hip height and lean into them for balance
Step Two – Adjusting Pole Lengths Properly
Ensure that the padded wrists straps are properly adjusted over each hand so they’re neither too tight nor too loose. Plus, you should adjust the pole shaft lengths so they’re level with or below your waistline
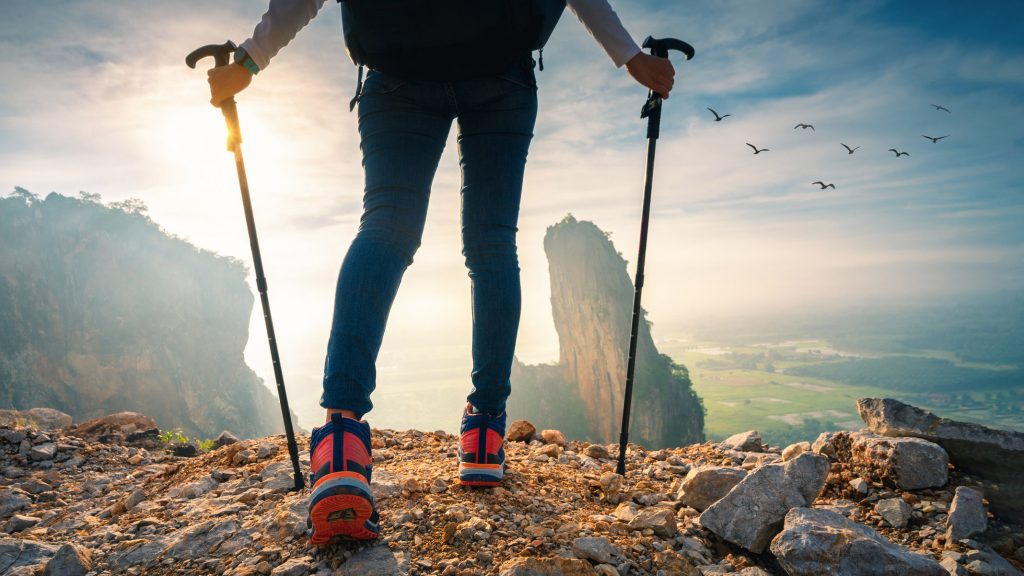
Step Three – Using Poles for More Stability on Uneven Terrain
Ensure that the tips are securely planted before each step. Plus, place one foot directly in front of the other to avoid twisting your hips and straining them when moving over uneven terrain
Step Four – Using Poles for Balance when Climbing or Descending Hillsides
Lean into your poles while moving uphill. Plus, plant them in front of you before descending hills to avoid slipping down the side of a hill
Step Five – Positioning Your Hands Correctly on Grip Pads and Leashes
Your gripping hand should be positioned close to the top of your trekking pole
Your braking hand should rest just above and in front of the wrist strap
When using two poles, grasp both handles with each hand. Plus, remove leashes from either side so you can move them out of the way when not needed during your hike
Step Six – Carefully Planting Your Poles
Ensure you plant your poles gently, not with too much force. Plus, don’t lean on them for support when they’re extended because this can bend or break the shafts
Cleaning and Storage
You should clean your poles with a soft brush or damp cloth after each use. Plus, it’s important to store them in a protective case when not using them for extended periods of time to prevent damage from the elements
FAQ
Q: How do I choose the right length?
A: The best way to figure out what length trekking poles you need is by using your height as a reference point for setting them at their lowest possible height in order to clear your head. Then, adjust them to their highest possible height in order for you to achieve a 90-degree angle just below your armpit when the pole is fully extended
Q: How can I clean my trekking poles?
A: You should never use any type of harsh chemical or cleaning agent on either rubber grips or metal parts. Instead, you should clean these items with a damp cloth or soft brush
Q: How do I adjust my trekking poles?
A: Before adjusting your pole height, ensure that the padded wrist straps are properly adjusted over each hand so they’re neither too tight nor too loose. Plus, tighten the bolts on both sections in order to adjust the height
Q: How do I attach my trekking poles?
A: You should always place your hand firmly on each grip when attaching, adjusting, or detaching a pole so you don’t drop it accidentally. Plus, remove leashes from either side so you can move them out of the way when not needed during your hike
Q: How do I remove my trekking poles?
A: Before removing a pole, make sure that it’s unlocked and double-check if the tip is properly engaged. Plus, grip both handles with each hand while unscrewing to avoid dropping them accidentally. Make sure you don’t twist or torque your wrist when using an adjustable pole so you don’t damage the internal locking mechanism
Q: How do I store my trekking poles?
A: After each hike, clean your trekking poles and let them dry out. Plus, it’s important to store them in a protective case when not using them for extended periods of time because this prevents damage from dust or moisture.
Q: How do I attach my trekking poles to a backpack?
A: First, place your hand firmly on each grip when attaching or detaching a pole so you don’t drop it accidentally. Plus, always remove leashes from either side of the pack’s shoulder straps in order for them to be out of the way when not needed during your hike
Q: How do I attach my trekking poles to a kayak or canoe?
A: You should secure them tightly with straps around the hull as close as possible to the waterline. Plus, make sure you leave enough slack so they can’t puncture holes in your boat’s bottom if you hit them on rocks
Q: Are trekking poles allowed in national parks?
A: Yes, you can bring your trekking poles along with you when visiting most US National Parks. Plus, the rules vary by state so it’s important to check with local authorities before heading out into nature with them.
Cleaning and Storage FAQ
Q: How do I clean my trekking poles?
A: You should never use any type of harsh chemical or cleaning agent on either rubber grips or metal parts. Instead, you should clean these items with a damp cloth or soft brush.
Q: Where can I store my trekking poles when not in use?
A: Before storing your poles, ensure that the rubber tips are covered to prevent damage. Plus, keep them in a cool dry place when not using them for extended periods of time so they don’t rust or corrode
Q: How do I store my trekking poles?
A: After each hike, clean your trekking poles and let them dry out. Plus, it’s important to store them in a protective case when not using them for extended periods of time because this prevents damage from dust or moisture