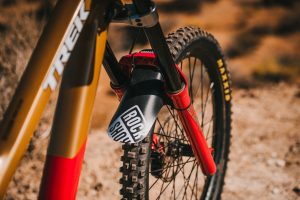
Changing bike brakes is an easy, quick process that can be done in just a few minutes. The steps to change your bike brakes are not complicated and there should be no need for you to pay someone else to do it. There are many reasons why you may need to replace the brake pads on your bicycle, but the most common reason is that they have worn down and don’t work as well as they used to. If this sounds like what’s happening with your brakes, then read through these instructions and soon you’ll be backpedaling again in no time.

Table of Contents
How Often Should I Change My Bicycle Brake Pads?
It’s important to remember that brake pads are worn items, meaning they will eventually need replacing. How often you’ll have to change your bike breaks depends on how often you use them and for what purpose. If you only ride occasionally or if it is mostly used as a mode of transportation rather than an athletic activity, then the brake pads will not wear down as quickly. However, if you use your bike for more athletic purposes or go on longer rides, then you may need to change them every few months.
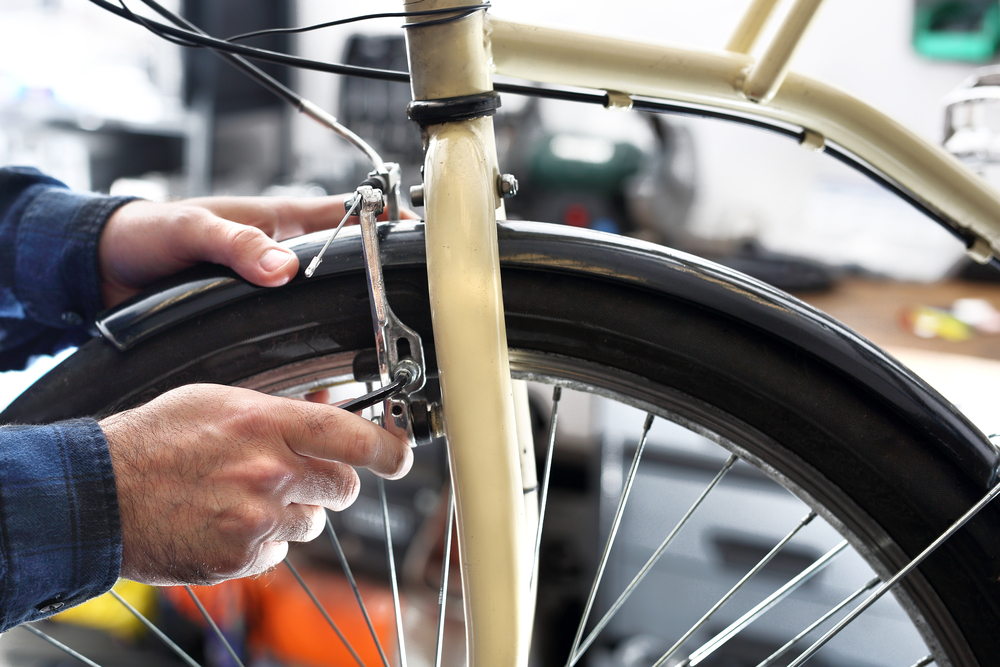
How to Change Your Bicycle Brakes
Tools you’ll need:
- Wrench or hex set that fits the nuts on your brake calipers
- Caliper-specific brake pad tool (optional)
- Rubber gloves and eye protection (highly recommended)
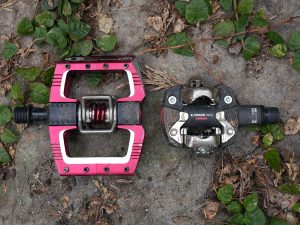
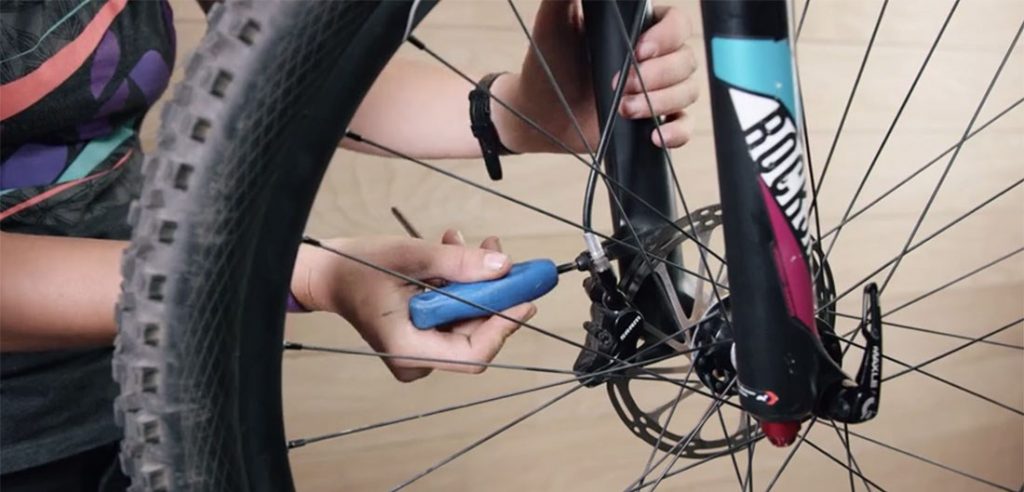
Step one: Remove the brake pads from your old calipers and replace them with new ones.
If you have a screw-and-nut system, then simply reverse what you just did in step one to tighten back up again. If not, then remove any bolts or other screws that hold on your brakes.
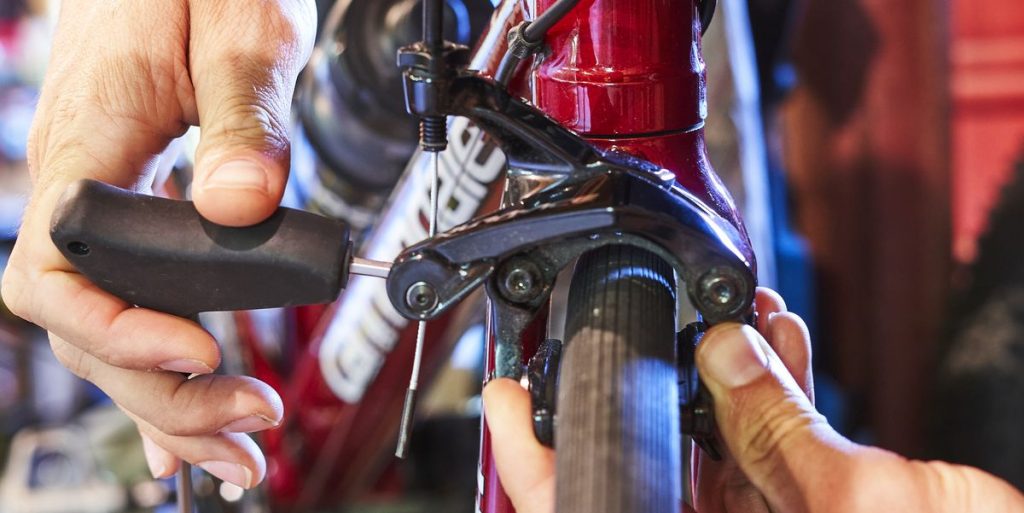
Step two: Adjust your brakes.
If you have screws that are holding on the brake calipers, then tighten them up to make sure they aren’t loose enough to wiggle around while riding or cause any problems for you in terms of performance. If not, it’s a good idea to move onto step four regardless so that all of your new brake pads are nice and even.
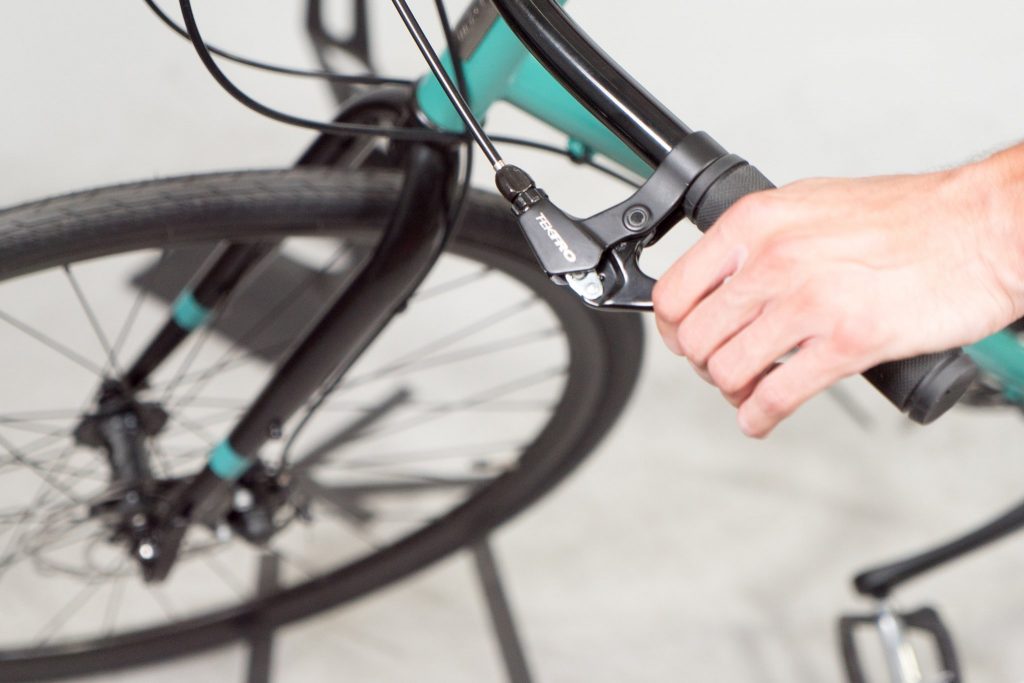
Step three: Test out the brakes to make sure they work properly before you go riding again.
Do this by applying steady, firm pressure on each of them one at a time until it stops. When pushing down on the lever, pay attention to how far it goes down (or up) before the brake pad makes contact with your wheel. Once you’ve tested out both brakes and made sure they’re even, then you’re good to go.
Note: Don’t replace your brake pads with new ones before adjusting them or testing out how they work on a bike stand because this will likely make it harder for you to get everything back in place and running smoothly when riding again. This is especially important if you have a screw-and-nut system.
What to Avoid When Changing Your Breaks
When changing your bicycle breaks, there are a few things that you should try and avoid.
First of all, make sure not to over-tighten any screws on the brake pads or calipers.
Second, if you have hex bolts holding on the brakes rather than using nuts and washers like some people do with larger bikes, then it’s important to make sure they don’t get so tight that you can’t remove them next time. That way, if the brake pads wear down again in a few months it won’t be such an issue for you when trying to replace or adjust them again.
How to Maintain Your Breaks
There are some things you can do on a regular basis to make sure your breaks stay in good shape and don’t need replacing as often.
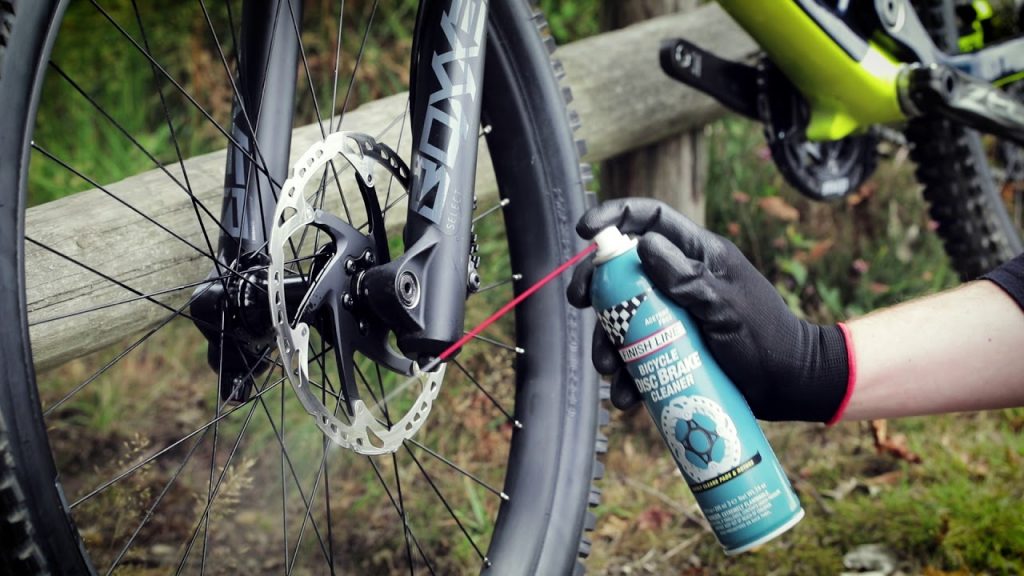
- If you’ve been having issues with squeaky or squealing brakes, then one of the best ways that you can fix this is by simply applying more lubrication to them. You can do this by spraying some water and soap onto the brake pads or using a wet rag to wipe them down. Either way, you should be able to get rid of any squeaks that may have been bothering you before they become too much of an issue for your ears.
- Another thing you can do is make sure that you’re not over-tightening any bolts or screws holding on to your brakes. This will help you to avoid having them strip or break off if something happens.
- Lastly, it’s also a good idea to try and limit the number of times that your brakes squeal when they’re worn down because this can cause serious damage. If you need new brake pads for any reason, then make sure you bring your bike in so that we can help you get back to using them again.
FAQ
Q.What do brake pads feel like?
A.The feeling of the new brake pads on your bicycle is going to be different for everyone, but in general, they should not cause you any pain or discomfort when riding. After all, that’s why we recommend wearing rubber gloves and eye protection while installing them so that nothing gets too out of hand.
Q.When should I start worrying about my brake pads?
A.If you notice that they’re wearing down to the point where it’s getting dangerous for your health, then we recommend bringing them to us as soon as possible so that we can replace them before anything gets out of hand. If this is happening because your bicycle is older or you’ve been doing a lot of long-distance riding, then it’s likely something that needs to be replaced.
Q.How do I know if my brake pads need replacing?
A.If your brakes squeak loudly when being used, don’t provide enough stopping power for you while you’re riding on uneven terrain, and/or leave a lot of black residue on your wheel after you’ve been riding, then it’s time to replace them. If there are any sharp edges sticking out from the brake pad, then they also need replacing as soon as possible because that can lead to injuries if you’re not careful.
Q.How should I maintain my brakes?
A.In order to make sure that your breaks are in good condition and you don’t have to replace them as often, there are a few things you can do on a regular basis. This includes making sure they aren’t too tight if using hex bolts instead of nuts and washers like some people may use for larger bikes. Also, make sure not to over-tighten screws or bolts that hold them in place and lubricate the brakes with soap and water if needed.